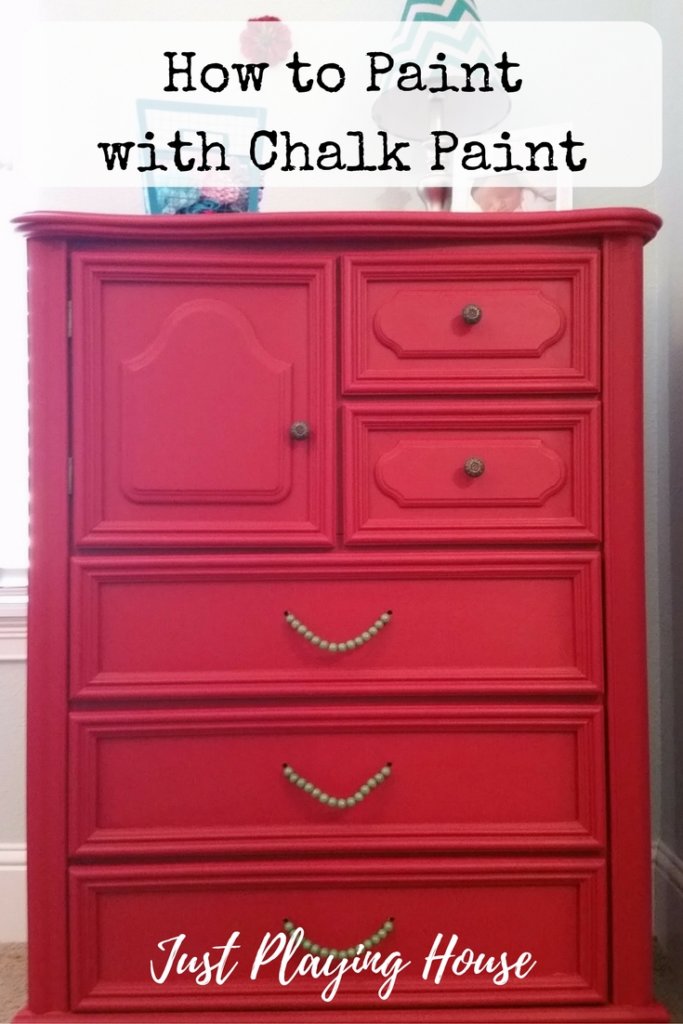
Let’s talk about how to paint a dresser using chalk paint!
One of my favorite things are DIY home projects. The last 4-months (since having my baby), the projects have pretty much been on hold. This was my last project. I finished it up just a couple of weeks before the baby was born. So now that I’ve finally gotten back to doing projects, it only makes sense this is the first one I post and share.
The dresser was a thrift store find. I was able to negotiate the price down because most of the drawer sliders were broken. We had to repair them to make it fully functional. In total, I paid $45.

This was not my first time painting furniture. However, I wanted to try something different for this project. I had read so much about chalk paint. I’m not talking chalkboard paint. Actual chalk paint has a chalky, matte finish. It’s intended to be used on old furniture to give it new life with more of a professional finish.
The photos I had seen of finished projects were gorgeous. Most of them were done using Annie Sloan chalk paint. So I started doing my research to compare that to what I would get at a big box. My decision was to splurge and go with Annie Sloan. It can only be purchased from dealers.
I found an adorable antique store down the road in Leesburg called Pop Vintage. They not only sold it, but the owner took time to walk me through her “how to” and show me some pieces she had done. Amazing! I could have spent all day in her shop.
She told me I would only need 1 quart of paint ($39), and 1 container of wax ($34). Ouch! I hoped it was going to be worth it. I was also worried that I wouldn’t have enough paint.
The reason for the splurge? Everything I read said this was the paint to use. Very little to no prep time. Come on, no sanding or priming?! Yes, please. Annie Sloan does not require you to mix it as others do (mixing latex paint with other ingredients to create it). Her paint was supposed to be thick, easy to use, and would mask any imperfections on an old piece of furniture (like ugly flowers on the drawers). Finally, I loved the colors! She only makes a small number of traditional colors. I knew I wanted red. There were 2 to pick from. No worries that I wouldn’t like the color at the end.
So after giving the dresser a good wash, I got started!
What do you need?
- Paint – The dealer will be able to tell you how much based on coverage for your project. You will be surprised at how little you actually use/need.
- A good brush. I did not use the Annie Sloan brush (yes, she sells brushes). I purchased a brush from Walmart. Go with one that is a little more stiff. Tough bristles, but still will bend. Also, don’t go too cheap. You don’t want the bristles coming off as you paint. I used a Linzer brand (stain/varnish brush).
- Blue painters tape – It is less tacky than other tape and will be easy to remove without leaving a film behind.
- Drop cloth – Keep the area clean below you.
- Wood blocks – Or anything else that will elevate the dresser while you paint. Make sure it’s OK if it gets paint on it so you can paint right along the edge.
- Annie Sloan wax – Let the dealer tell you how much you will need. It really isn’t much!
- Paper towels – It was suggested that I use Viva paper towels instead of the cheese cloth or white t-shirt to apply the wax. It worked fairly well. Only use this brand though due to the thickness. It won’t leave as much lint behind as others.
How to Paint a Dresser Using Chalk Paint (Annie Sloan):
- Remove all of the drawers. Make sure the piece is washed down really well.
- Tape off any areas you don’t want painted. For me that was the inside of the dresser.

- Begin painting! Make sure your paint is well shaken/mixed before starting.
- There are lots of You Tube tutorials out there to watch. I would recommend watching some before your first time using this product. The way it was described to me was to first get coverage in a small area (like 12″x 12″). Get the paint on. Dab it into any nooks and crannies. Then go over the section with long strokes that go from right to left to smooth it out in even strokes.
- As the paint dries it will have some texture to it. By painting in straight lines you will ensure you don’t have weird swirls and splotches in your texture when it dries.
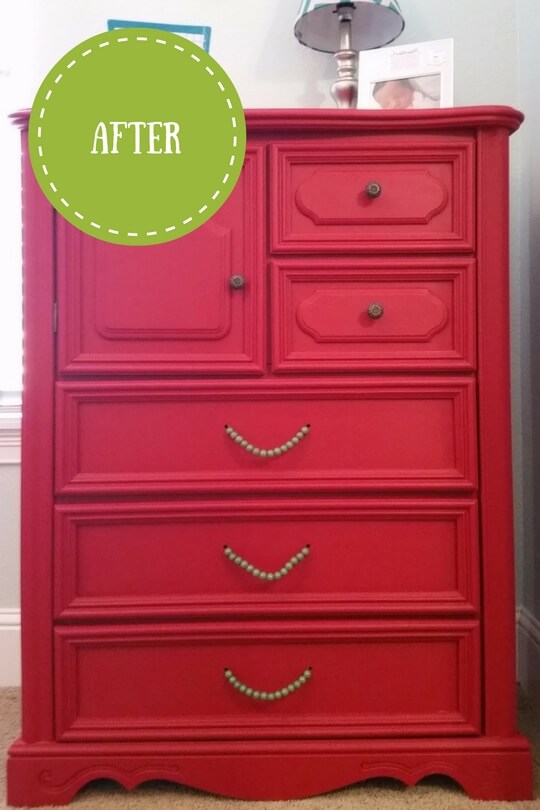
- The first coat will likely not fully cover. I was a little worried at this stage that I wouldn’t like it. Once the second coat went on, I loved it!
- The paint will dry in about 15-30 minutes. By the time I had made my first coat around the piece, I was able to begin right away painting the second coat. That was awesome!
- Let the paint dry at least 24 hours before you apply the wax.
- Apply the wax.
- Again, there are lots of You Tube videos. Watch some! This is the step where everyone says you can mess up or ruin your piece. Personally, I think their warnings sounded a bit more scary than they should have been. Even the woman that talked me through it said not to be afraid of the product. Just use it very sparingly.
- Use it very sparingly! Yes, I know I just said that. I mean it! Start with a very little bit of wax. Really work it into the piece. Too much wax is what causes issues. You can always add to it.
- For that 12″ x 12″ area you were using, you likely need just a tiny dab of wax (size of a pea).
- Grab a couple of Viva paper towels. Dip the corner into the wax and get your pea size amount. Begin working it into the paint in small sections. Do like you did with the paint. Rub the wax all over that section and really push it into the nooks and crannies. Apply it in a circular motion. When you see that you have it evenly spread and it’s a super light coat, go over it from right to left like you did when you painted.
- The paper towels may leave a little lint behind. I found that if I switched out to a new paper towel every so often, there was less lint. There was never so much that after it dried I could see it. Just make sure to remove as much as you can by going over that area with your clean paper towel again.
- Let the piece dry another 24 hours. You can add additional coats of wax if you feel you want more shine to your furniture. I just applied 1 coat.

Something else you may want to keep in mind. This paint is more delicate than latex paint. You will not want to use it on a really high traffic piece of furniture. It can scratch easily. I used it for a dresser in the nursery. I figured I will be the only one using it for the first couple of years anyways.
There are other finishes you can try as well. I did just the simple vintage look. You can stack two colors and distress it. You can go for the rustic “chippy” look. Or you can do a smooth modern finish. These tips can be found on AnnieSloan.com as well as other great information on her products.
Overall, I had a good experience using Annie Sloan’s chalk paint. I do love the finished product.
What do you think?
***I was not compensated in any way for this post. I purchased the product. All opinions are my own.